最初に断っておくと、これを読んでセットアップが終了したとしても、お望みの画像が得られないかもしれないということ。特に Mac使いの人は…それでも環境構築だけはやってみたい、という人は参考にしてください
ニューラルアルゴリズムを用いて2つのイメージを結合する neural-styleの環境構築。多くの記事が Ubuntuディストリビューションで使用(推奨)されていたので、CentOS 7用での構築です。
環境: *ここでは VirtualBoxや Vagrantのインストールについては説明しておりませんので、他の記事を参照願います。
VirtualBox: Version 5.2.6 r120293 (Qt5.6.3)
Vagrant: 2.0.2
1. Vagrant Boxを作成し設定ファイルを修正
MacBook-Pro:torch7_temp Tadashi$ vagrant init centos/7
Vagrantfileの内容を次のように変更
  config.vm.synced_folder "./data", "/vagrant/data", type: "rsync"
  config.vm.provider "virtualbox" do |vb|
    vb.cpus = 2
    vb.memory = "4096"
  end
変更後、”vagrant up” そして、”vagrant ssh”
2. Torch7インストール
sshログイン後、packageを更新してから Torch7をインストール、その後、 Torch7 をインストール.
[vagrant@localhost torch]$ sudo yum -y update
[vagrant@localhost torch]$ sudo yum -y install git wget
[vagrant@localhost torch]$
[vagrant@localhost torch]$ git clone https://github.com/torch/[vagrant@localhost torch]$ distro.git ~/torch --recursive
[vagrant@localhost torch]$ cd torch
[vagrant@localhost torch]$ bash install-deps
[vagrant@localhost torch]$ ./install.sh
[vagrant@localhost torch]$ Do you want to automatically prepend the Torch install location
to PATH and LD_LIBRARY_PATH in your /home/vagrant/.bashrc? (yes/no)
[yes] >>>
yes
[vagrant@localhost torch]$ source .bashrc
[vagrant@localhost torch]$ th
exit
Do you really want to exit ([y]/n)? y
Torch7のインストールが正しく終了していれば、thコマンドで次の画面が表示される。(終了は、”exit”)

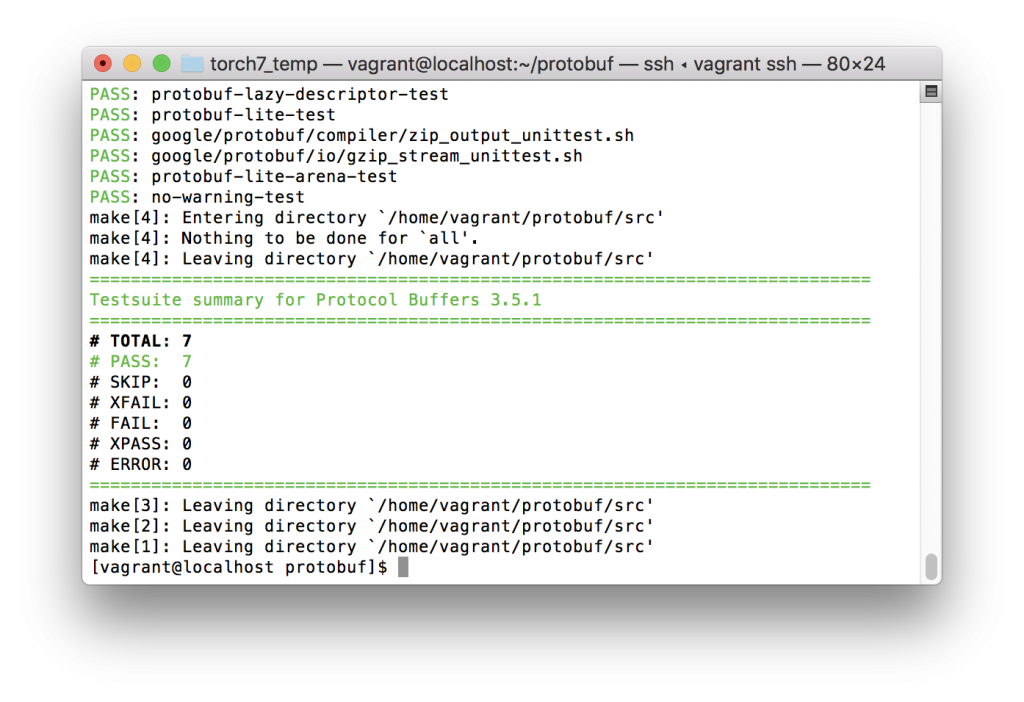
3. Protobufインストール
Protocol Buffers – Google’s data interchange format, Ubuntuだと apt-getでいけるのだが、CentOSは make installしないといけない
[vagrant@localhost torch]$ sudo yum install autoconf automake libtool unzip gcc-c++ git -y
[vagrant@localhost torch]$ cd
[vagrant@localhost ~]$
[vagrant@localhost ~]$ git clone https://github.com/google/protobuf.git
[vagrant@localhost ~]$ cd protobuf
[vagrant@localhost ~]$ ./autogen.sh
[vagrant@localhost ~]$ ./configure
[vagrant@localhost ~]$ make
[vagrant@localhost ~]$ make check
[vagrant@localhost ~]$ sudo make install
[vagrant@localhost ~]$ sudo ldconfig
[vagrant@localhost ~]$ sudo yum -y install protobuf-compiler
念のため “make check”もかけてみる。
3. loadcaffeインストール
VGG ILSVRC-2014 19-layer,が必要なので、詳細は→ loadcaffe.
[vagrant@localhost protobuf]$ luarocks install loadcaffe
4. neural-styleインストール
詳細は→ here.
[vagrant@localhost protobuf]$ cd
[vagrant@localhost ~]$ git clone https://github.com/jcjohnson/neural-style
[vagrant@localhost ~]$ cd neural-style/
[vagrant@localhost neural-style]$ sh models/download_models.sh
5. 画像変換実施
ここまでで実行環境は整っていますので、最後に、コマンドラインから実行します。”-gpu -1″オプションは、CPUでの演算を意味します。 *CPUだと、相当時間がかかる…(途中で諦めました)
[vagrant@localhost neural-style]$ th neural_style.lua -style_image /vagrant/data/rose-512x512.jpg -content_image /vagrant/data/self-512x512.jpg -gpu -1
ご参考までに😗
- Tags
- CentOS7, neural-style, Torch7, Vagrant

